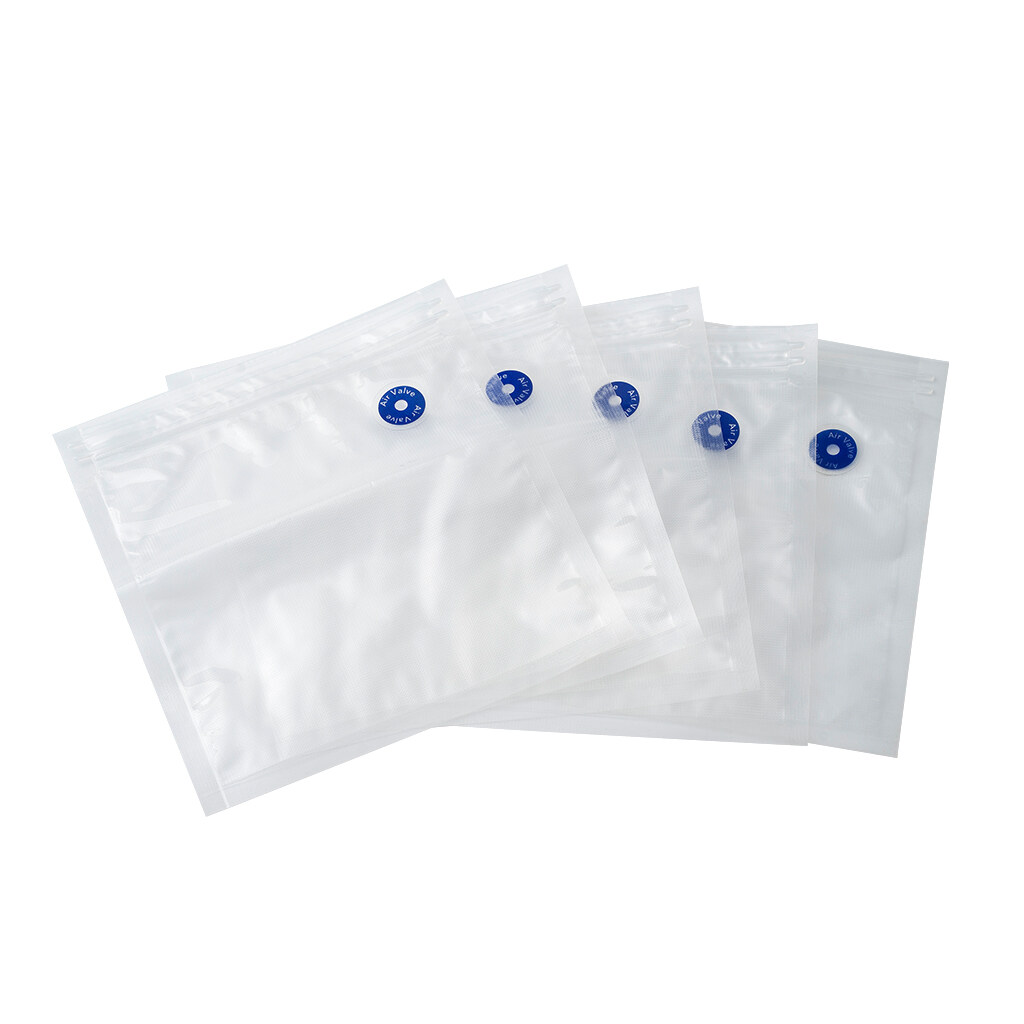
A Comprehensive Guide on How to Use Food Saver Vacuum Seal Bags
In the realm of food preservation, the innovation of vacuum-sealed bags has revolutionized the way we store and maintain the freshness of our perishables. Among the myriad of options available, Food Saver Vacuum Seal Bags stand out for their efficacy and ease of use. If you're new to this preservation method or seeking to optimize your usage, you're in the right place. In this guide, we'll delve into the ins and outs of using Food Saver Vacuum Seal Bags effectively.
Understanding Food Saver Vacuum Seal Bags:
Before we jump into the practicalities, let's take a moment to understand what exactly these bags are and how they work. Food Saver Vacuum Seal Bags are specially designed plastic bags that, when used with a vacuum sealing system, remove air from the bag, creating an airtight seal around the food. This process effectively extends the shelf life of perishable items by preventing oxidation and inhibiting the growth of mold and bacteria.
Step-by-Step Guide on How to Use Food Saver Vacuum Seal Bags:
1. Prepare Your Food:
Start by preparing the food you intend to seal. Whether it's fresh produce, meat, or leftovers, ensure that they are clean and dry. For liquids or moist foods, it's advisable to freeze them partially before vacuum sealing to prevent liquid from being sucked into the machine.
2. Cut the bag to size:
Food Saver Vacuum Seal Bags typically come in rolls, allowing you to customize the size according to your needs. Using the built-in cutter, trim the bag to the desired length, leaving extra space for sealing.
3. Seal one end of the bag:
Place one end of the bag into the vacuum sealing machine and follow the manufacturer's instructions to create a seal. This step ensures that there is a closed end to contain the food once vacuuming begins.
4. Fill the bag:
Carefully place your food items into the bag, leaving some space between each item and ensuring they do not overlap. Be mindful not to overfill the bag, as this can interfere with the sealing process.
5. Vacuum Seal:
Once the bag is filled, place the open end into the vacuum sealing machine and close the lid. Activate the vacuum sealing function according to the machine's instructions. You will notice the machine removing air from the bag, followed by sealing it shut automatically.
6. Inspect the seal:
After the vacuum sealing process is complete, visually inspect the seal to ensure it is airtight and secure. Gently run your fingers along the seal to check for any irregularities or leaks.
7. Store Properly:
Label the sealed bags with the contents and date of sealing for easy identification. Store the sealed bags in the refrigerator or freezer, depending on the type of food being preserved.
Benefits of Using Food Saver Vacuum Seal Bags:
Now that you're well-versed in the art of using Food Saver Vacuum Seal Bags, let's explore some of the benefits they offer:
1. Extended Shelf Life: Vacuum sealing effectively slows down the process of food spoilage, allowing you to enjoy fresher food for longer periods.
2. Prevents Freezer Burn: By removing air from the bag, vacuum sealing helps prevent freezer burn, preserving the texture and flavor of frozen foods.
3. Space Efficiency: Vacuum-sealed bags take up less space in the refrigerator or freezer compared to bulky containers, allowing for better organization and maximization of storage space.
4. Cost Savings: With reduced food waste and the ability to buy in bulk and portion out servings, vacuum sealing can lead to significant cost savings over time.
In conclusion, mastering the art of using Food Saver Vacuum Seal Bags opens up a world of possibilities for preserving and enjoying your favorite foods. With proper technique and storage, you can bid farewell to food waste and welcome a new era of freshness and convenience in your kitchen. So why wait? Get sealed and savor the benefits today!


